In this tutorial, I will show you the steps I took to Create a Horror Cracked Human Figure with Layer Masking Techniques in Photoshop. The primary goal of this tutorial is to show you how you can blend textures together with layer mask, and how to achieve the best end result possible.
We will also go through other skills such as image adjustments, layer blending, selection tools and some simple photo retouches.
This is an intermediate level Photoshop tutorial so some steps can be tricky.
Note: The Photoshop tutorial is done in CS6 – therefore some screenshot may have slighting different layout as in the earlier version.
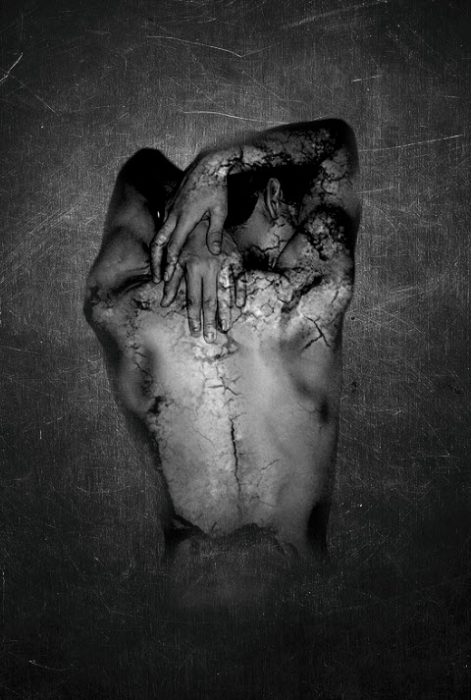
Here is a preview of the final effect I have for this tutorial: (click to enlarge)
PSD File Download
You can download the PSD File for this tutorial via the VIP Members Area for only $6.95/Month (or less)! You will not only get this PSD File, but also 100+ other PSD Files + Extra Goodies + Exclusive Photoshop tutorials there. Signup now and get exclusive :) Find out more about the VIP Members Areas
OK Let’s get started!
To complete this tutorial, you will need the following stocks:
Model by mousiestock
Step 1
Load the Metal background image into Photoshop – we will use it as our canvas. Duplicate the background layer and apply the following unsharp mask filter to it in order to bring out a bit more details:
Add the following 2 image adjustment layers to this background layer:
Levels
Layer mask on the levels adjustment layer:
Curves
and here is the effect so far:

Step 2
Load the model image into Photoshop and cut of the model from its background, paste it onto our document. Resize and position it to the centre of the canvas:

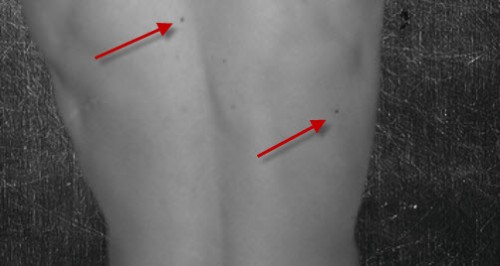
Then use the spot healing tool to clean out some dark spots as shown below:

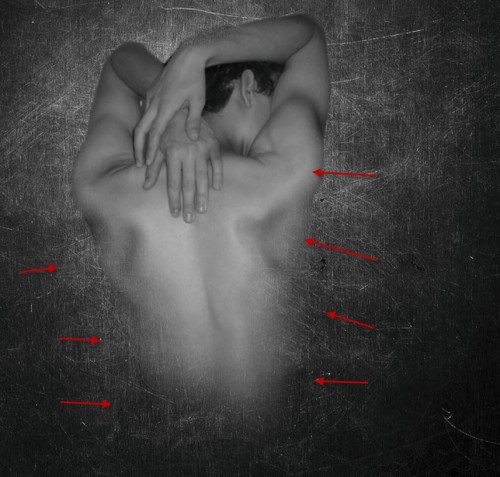
Use a soft erase tool to fade the edges of the model so it blends into the background:
Step 3
We can add the following 2 image adjustment layers this model layer as clipping mask:
Levels
Curves
and here is the effect so far:

Step 4
We can now add the crack texture onto the model – load the crack image into Photoshop and use the Lasso Tool to select a portion of texture:

Copy and paste the selection onto our document and set it as a clipping mask to the layer below, use a soft eraser (set flow and opacity to around 60%) to remove some parts of the texture as shown below:
Hint: this effect can be a bit tricky achieve, you should try adjust the flow and opacity of the eraser tool as you see it, until parts of the body is reveal and not covered by cracks.
Again we add the following 2 adjustment layer as clipping mask for this cracked texture layer:
Black and White

Levels

and you will have the following effect so far:
Step 5
We will add some further crack texture around the model, so go back to the cracked image and select another piece of it, copy and paste the selection over onto our document, de-saturate its colour:
I applied the following layer mask to this new cracked texture layer to hide some of it:
Add the following 2 adjustment layers to this new crack layer as clipping mask:
Levels
Curves
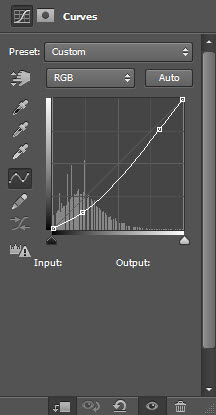
and you will have the following effect so far:
Reduce the layer opacity of the new cracked texture slightly down to around 90% for a subtle effect:

Step 6
I decided to add something under the model for some extra effect. So I loaded the tree root image into Photoshop and select a piece of the roots with the quick selection tool:
Copy and paste the selection onto our document, resize and place it under the body, add the following layer mask to it to soften its edges:
Add the following 2 adjustment layers as clipping mask to this root layer:
Black and white

Levels
and you will have the following effect so far:

Step 7
We’re almost done! For some final touches, I rendered some cloud down the bottom of the canvas:

I also used the brush created in Step 5 of this tutorial to added a few leaves around the model:
I also used a 2px hard brush to paint some lines around the model for some dramatised tangling effect:
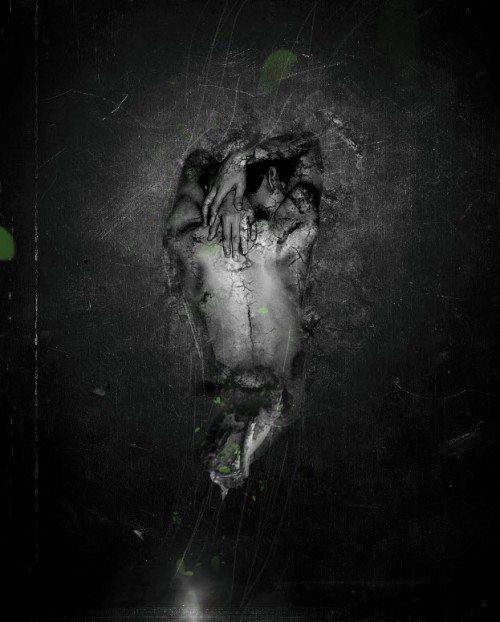
I further added some colour adjustments over the image, and you will have the following final effect: (click to enlarge)
That’s it for this tutorial! Hope you enjoy it and find it useful! Till next time, have a great day!


